EngageCX Studio Installation Guide
Overview
This guideline provides step by step instructions you must follow for installing EngageCX Studio software on your computer. For more information, please skim over the following lines if you want to install the EngageCX Studio for the first time on Windows operating systems.
Pre-Installation
Before proceeding to install the Studio software, it is recommended to take a look over some prerequisites in order to ensure the properly conditions that lead to a successful installation. For more details regarding a specific area of requirements, please access the topic you need from the table below.
| .NET Framework 4.5 | Operating System | Hardware Requirements |
NET Framework
The .NET Framework 4.5 is required to be able to run the EngageCX Studio setup. The .Net Framework 4.5 can be downloaded from the Microsoft website, from this download link.
For important information about this release, see the Readme File.
Operating System
Find in the table below the minimum and recommended operating system specifications for EngageCX Studio installation.
| Minimum | Recommended |
|---|---|
| Windows Vista SP2 | Windows Server 2012 R2 x64 and up |
Hardware Requirements
The table below lists the minimum and recommended hardware specifications that must be addressed prior to the EngageCX Studio installation.
| Minimum | Recommended |
|---|---|
| 1 CPU/4 Cores i5 @ 2 GHZ | 2 CPU/8 Cores XEON @ 3 GHZ |
| 4 GB of RAM | 16 GB of RAM |
| 10 GB disk space | 1 TB disk space |
Installation
Installer Description
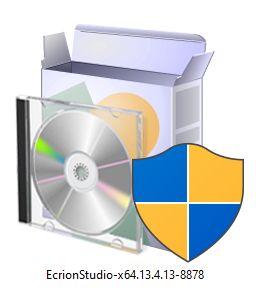
The installation files are named according to the version of the product. Generally, the setup name has the following structure: Product Name - Architecture - Build Version - Build Number.
In the example below, you can identify the details mentioned as follows:
- Product Name: EngageCX Studio
- Bit Version: x64
- Build Version: 13.4.13
- Build Number: 8878
Installation Wizard
To open the installation wizard, double-click on the .exe file and wait for the Setup to initialize:
When the setup finished preparing the install, the Welcome Screen will appear. Follow the steps described below to complete the installation.
Step - Welcome Screen
The welcome screen provides details on what product is about to be installed on your machine, as well as two options, to revert changes or to proceed with the installation of the EngageCX Studio software.
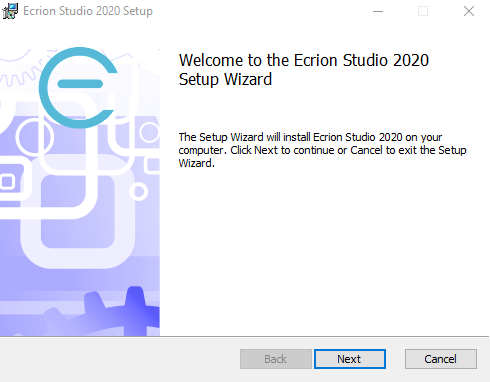
If you wish to cancel the installation, then press the Cancel button.
You will be prompted to confirm your decision, in order to prevent accidental canceling:

To proceed with the installation, select the Next button, located in the bottom region of the window.
Step - End-User License Agreement
In order to continue with the installation of the EngageCX Studio software, you will need to carefully read the terms and conditions for this software.
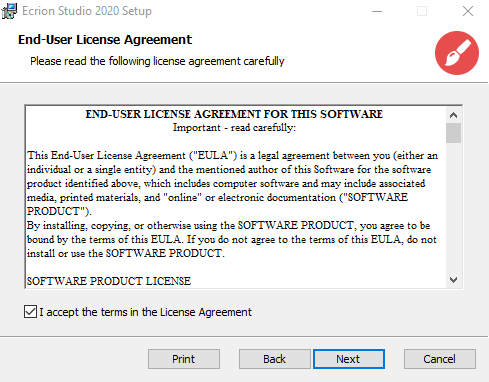
Afterwards, check the I accept the terms in the License Agreement checkbox and click Next to continue.
Note
The Next button is grayed out until the above checkbox is selected.
Step - Destination Folder
This step in the Setup Wizard offers the possibility of setting the location where the EngageCX Studio software will be installed. By default, the Studio solution will be installed at: C:\Program Files\EngageCX\EngageCX_Product.
To change the default path, select the Change button on the middle-left side of the window and provide a new destination folder for the Studio installation.
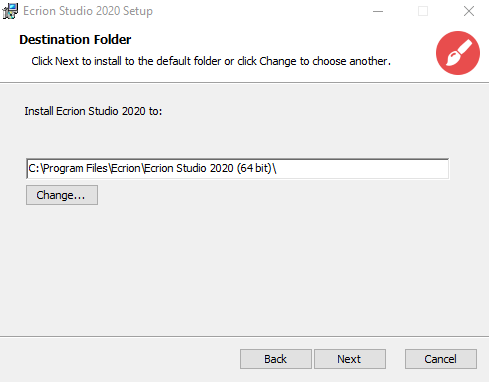
Once you have the folder set, select the Next button to continue with the installation.
Step - Product Features Selection
EngageCX Studio provides a suite of components which can be chosen during this step of the installation. Notice that each component is provided with a short description on its functionality.
By default, all three components are selected. You can decline the installation of a component by de-selecting the associated check-box. Not selecting an option will render the user unable to finish the installation.
- Publisher is a visual design component used to design document templates, which integrates well with the other EngageCX products. It contains features such as:
- Responsive Documents, depending on the device where the document is visualized;
- Data Splitting if it is used along with EngageCX Platform;
- Dynamically adding stylesheets (design by the user);
- Modeler is a visual design component used for designing a singular powerful data source from combining, cleansing, and transforming your enterprise data in a graphical environment.
- Analyst is a powerful dashboard design component for visualizing, filtering, analyzing and interpreting enterprise data.
In addition, once with the components selection, EngageCX Studio will also install the EngageCX Drive tool, that allow you to synchronize your templates, diagrams and dashboards locally created with EngageCX Platform, automatically or manually.
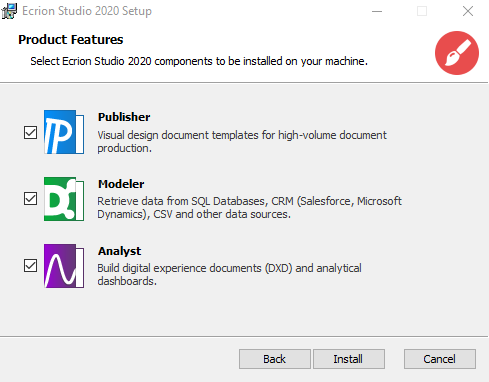
Once you select the needed components, select Install to proceed with installing the software.
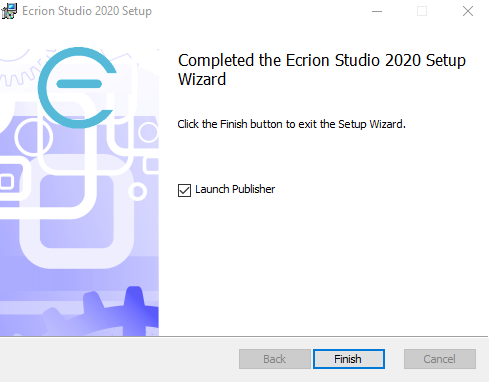
Step – Completed Installation Screen
The final steps of the Installation Wizard allow you to see the progress of the installation and, once completed, you can choose to launch Publisher tool.
Complete the installation by selecting the Finish button.
Getting Help
For more information, please access the product documentation by using the links below:
-
EngageCX Publisher
For more details on how to build custom templates, access the Publisher Guide.
-
EngageCX Modeler
For more details on how to create data diagrams, access the Modeler Guide.
-
EngageCX Analyst
For more details on how to produce dashboards, access the Analyst Guide.